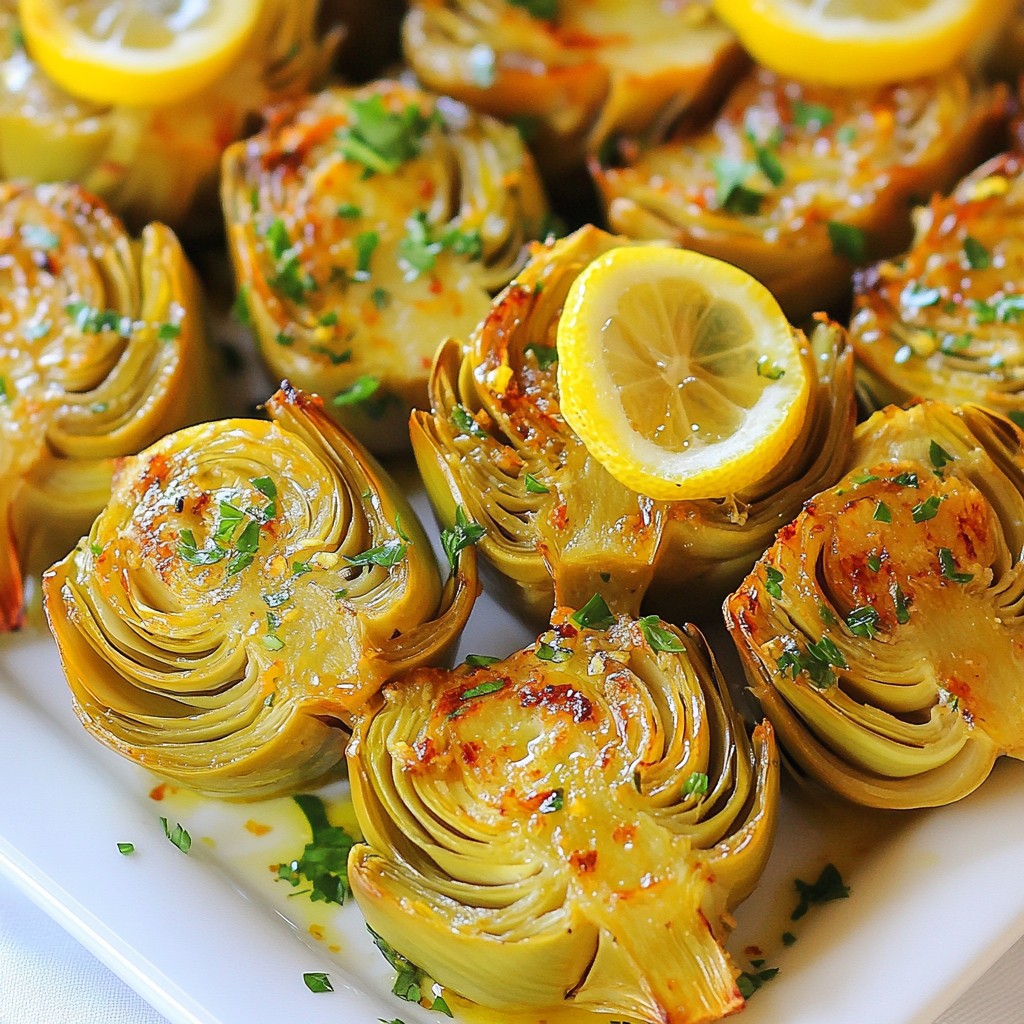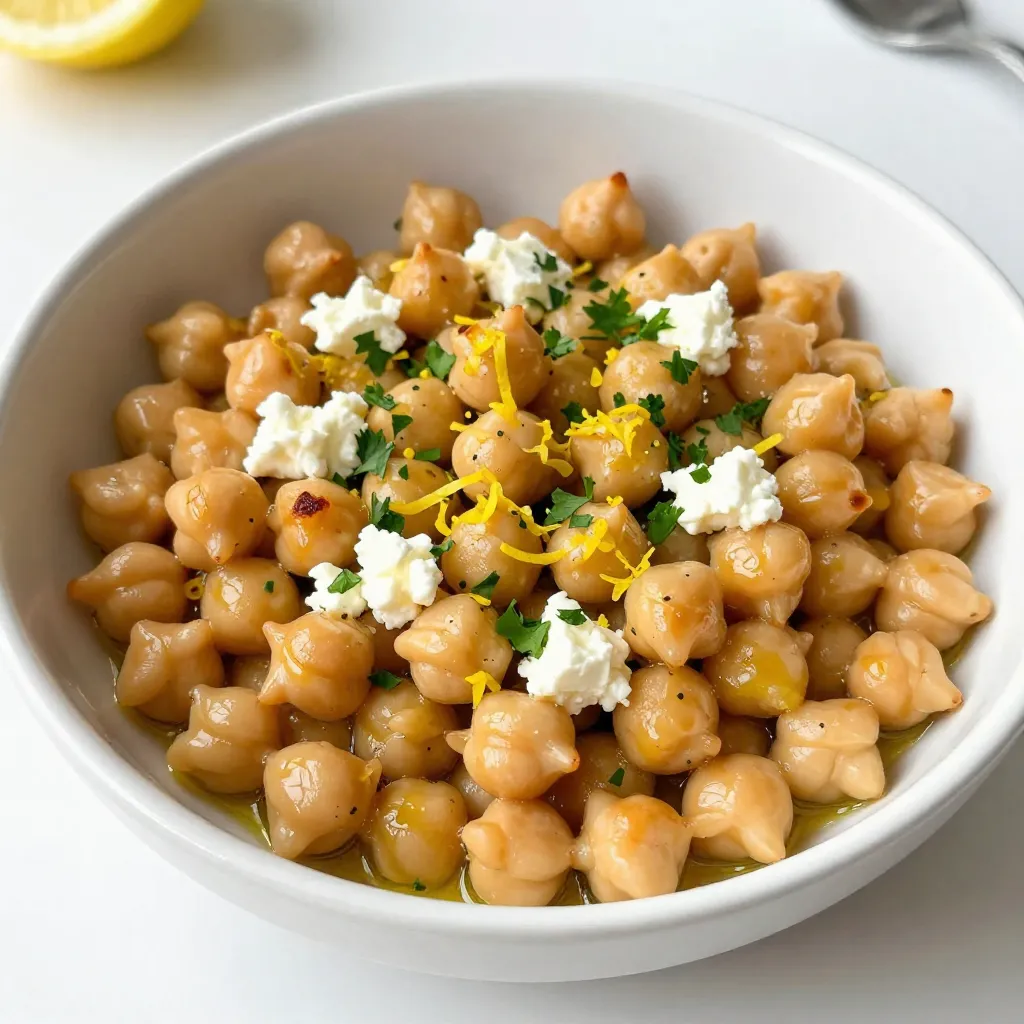
Looking to spice up your meals with healthy, bold flavors? Try my Lemon Garlic Greek Chickpeas! This easy dish is packed with nutrition and tastes fantastic. With just a few simple ingredients like chickpeas, garlic, and fresh lemon, you can create a dish that is both satisfying and bright. Plus, I’ll share tips on storing, serving, and customizing your chickpeas for any occasion. Let’s get cooking!
Why I Love This Recipe
- Quick and Easy: This recipe takes only 20 minutes to prepare, making it perfect for busy weeknights.
- Healthy and Nutritious: Packed with protein and fiber, chickpeas are a great addition to any meal.
- Bright and Flavorful: The combination of lemon and garlic creates a zesty flavor that elevates the dish.
- Versatile Dish: These chickpeas can be served warm or cold, making them great for salads or as a side dish.
Ingredients
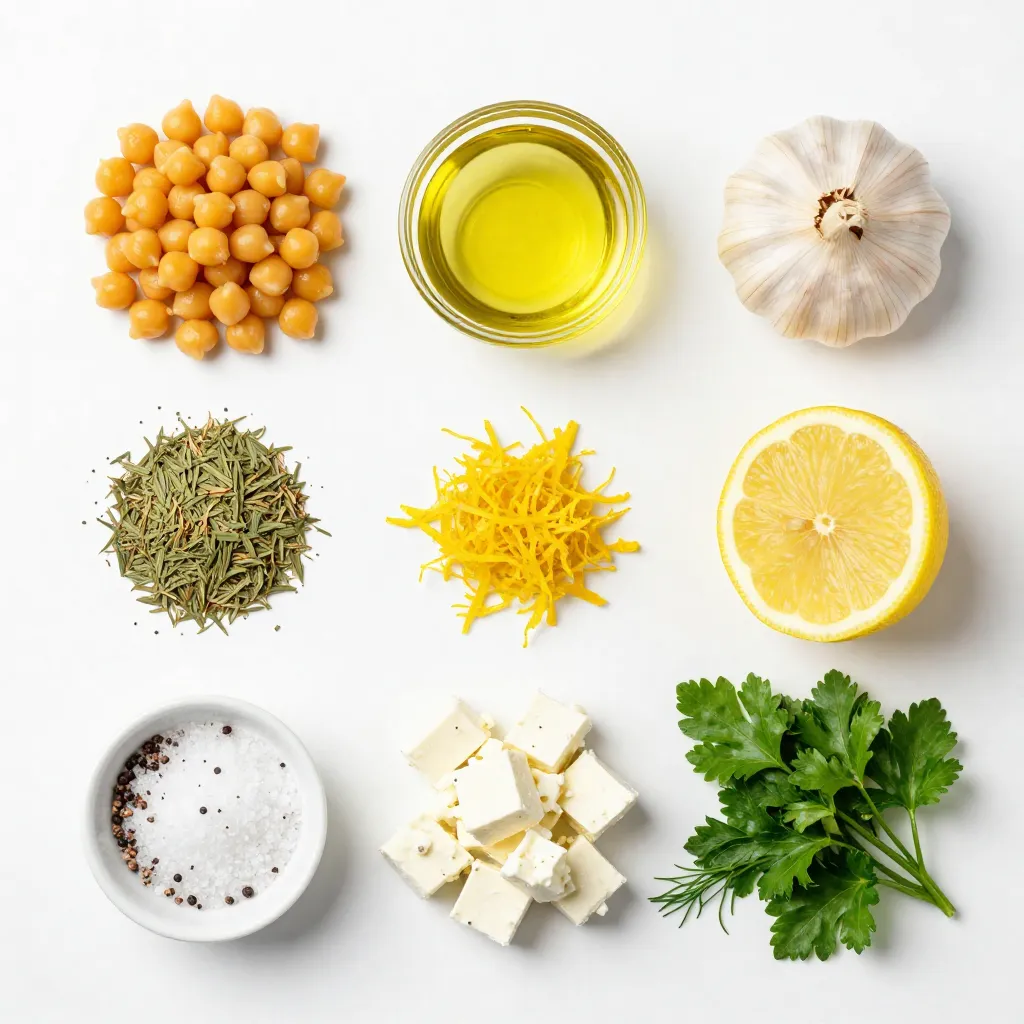
Essential Ingredients
– 2 cans (15 oz each) chickpeas, rinsed and drained
– 4 tablespoons olive oil
– 4 cloves garlic, minced
Flavor Enhancers
– Zest of 1 lemon
– 1/4 cup fresh lemon juice
– 1 teaspoon dried oregano
– 1/2 teaspoon cumin
– 1/4 cup feta cheese, crumbled (optional)
Garnishing Options
– 2 tablespoons fresh parsley or dill, chopped
– Salt and pepper to taste
The key to making Lemon Garlic Greek Chickpeas lies in the fresh and simple ingredients you choose. First, chickpeas serve as a hearty base. They pack protein and fiber, making them a filling option for any meal.
Olive oil adds richness and depth. It helps the garlic become fragrant when sautéed. Garlic is essential for that bold flavor. The minced garlic will infuse the dish with a warm, savory note.
Next, we elevate the flavor with lemon juice and zest. The zest adds a bright, tangy twist. Fresh lemon juice provides a refreshing acidity. Dried oregano and cumin bring warmth and earthiness. Together, they create a delightful Mediterranean profile.
Feta cheese is optional, but it adds creaminess and a salty kick. For garnishing, fresh herbs like parsley or dill brighten the dish. Finally, salt and pepper ensure that every bite bursts with flavor.
By using these ingredients, you create a dish that is not only tasty but also healthy. Each component plays a vital role in crafting a balanced and vibrant meal.
Step-by-Step Instructions
Preparation Steps
– Start by rinsing and draining two cans of chickpeas. This removes extra salt and improves flavor.
– Next, mince four cloves of garlic. The garlic adds a strong, tasty kick.
– Prepare one lemon by zesting it and squeezing out a quarter cup of juice. Fresh lemon brightens the dish.
Cooking Process
– Heat four tablespoons of olive oil in a large skillet over medium heat. This oil will help flavor the chickpeas.
– Once the oil is warm, add the minced garlic. Sauté for one to two minutes until it smells great. Be careful not to burn it, as burnt garlic can taste bitter.
Combining Ingredients
– Now, stir in the rinsed chickpeas. Cook them for five to seven minutes. This browning adds a nice texture.
– Add the lemon zest, lemon juice, one teaspoon of dried oregano, half a teaspoon of cumin, and salt and pepper to taste. Mix well to coat the chickpeas.
– Continue cooking for another three to five minutes until everything is hot and the chickpeas are crispy.
– If you like, sprinkle crumbled feta cheese on top before serving.
– Garnish with fresh parsley or dill for a beautiful finish.
Tips & Tricks
Cooking Techniques
To achieve the perfect sauté, heat olive oil in your skillet over medium heat. When the oil shimmers, add the minced garlic. Sauté for 1-2 minutes until it smells great, but don’t let it burn. This will give your dish a lovely flavor.
For crispy chickpeas, stir in the rinsed chickpeas after the garlic. Cook them for 5-7 minutes. Let them brown slightly, which adds texture. A little patience here helps achieve that nice crunch.
Flavor Boosters
Adjusting seasonings can make a big difference. Taste your dish while cooking. If it needs more zing, add salt or pepper. You can also mix in more lemon juice for a fresh taste.
Customizing acidity with lemon is key. The zest adds a fragrant punch, while the juice gives a tangy kick. Feel free to tweak the amounts to match your taste.
Serving Suggestions
For ideal pairings, serve these chickpeas with crusty bread or a fresh salad. They make a great side dish or main course. You can even toss them in wraps for a quick meal.
For presentation, serve the chickpeas warm in a shallow bowl. Drizzle with a bit more olive oil and sprinkle fresh herbs on top. This makes the dish vibrant and inviting. It’s all about making your food look as good as it tastes!
Pro Tips
- Tip Title: Use Fresh Ingredients: Whenever possible, opt for fresh garlic and herbs to enhance the flavors of the dish.
- Tip Title: Adjust the Seasoning: Don’t hesitate to taste and adjust the seasoning as you cook to achieve your desired flavor balance.
- Tip Title: Crispy Chickpeas: For extra crispiness, consider broiling the chickpeas for a couple of minutes after cooking.
- Tip Title: Pairing Suggestions: This dish pairs wonderfully with grilled meats or as a topping for a grain bowl.
Variations
Ingredient Swaps
You can easily change the chickpeas. Try black beans or lentils. These swaps give new flavors and textures. If you want a vegan dish, skip the feta cheese. This keeps the meal plant-based and delicious.
Flavor Profiles
For some heat, add red pepper flakes. They bring a nice kick to the dish. You can also use herbs like thyme or rosemary. These herbs add depth and a fresh taste to your meal.
Serving Styles
Serve these chickpeas as a salad topping. They add a hearty boost to any salad. You can also use them in wraps or with grains. They pair well with rice or quinoa, making a filling meal.
Storage Info
Refrigeration Guidelines
To keep your Lemon Garlic Greek Chickpeas fresh, store them in an airtight container. Make sure they cool down to room temperature before sealing. This helps prevent moisture build-up. They will last in the fridge for about 3 to 5 days. If you want to enjoy them later, be sure to check for any changes in smell or texture before eating.
Freezing Instructions
If you want to store your chickpeas for a longer time, freezing is a great option. Place them in a freezer-safe bag or container. Remove as much air as you can to avoid freezer burn. These chickpeas can last up to 3 months in the freezer. When you’re ready to eat, thaw them overnight in the fridge or use the microwave on the defrost setting for quicker results.
Reheating Tips
To reheat your chickpeas, use a skillet over medium heat. Add a splash of olive oil to help them regain their crispiness. Stir occasionally to heat evenly. You can also reheat them in the oven at 350°F (175°C) for about 10-15 minutes. This method keeps them crispy and delicious, making them a perfect addition to any meal.
FAQs
What can I substitute for chickpeas?
If you don’t have chickpeas, you can use other beans. Great options include black beans, cannellini beans, or lentils. Each brings a unique taste and texture. For a nutty flavor, try using edamame.
Can I make this dish in advance?
Yes, you can prepare this dish ahead of time. Cook the chickpeas and let them cool. Store them in the fridge for up to three days. Reheat before serving for the best flavor. You can also serve them cold as a salad.
Is this recipe suitable for meal prep?
This recipe is perfect for meal prep. You can easily double the batch. Store the chickpeas in separate containers. They pair well with rice, quinoa, or salad greens. Enjoy them throughout the week for quick meals!
This recipe highlights key ingredients like chickpeas, olive oil, and garlic. You learned how to enhance flavors with lemon and spices while keeping it easy and fun. I shared tips for perfect texture and delicious serving ideas. Experiment with variations and enjoy this dish in different ways. Remember, you can adjust the flavors to fit your taste. Storing leftovers correctly keeps your meal fresh and tasty. Try it out, and enjoy making this dish your ow